Quick Navigation
A few years ago, on a villa site in Gurgaon, a contractor’s team was ready to pour a slab by 9 AM. The shuttering looked clean. The reinforcement mesh was in place. Everyone was in a hurry, because concrete waiting around costs money and the mixer truck was already booked.
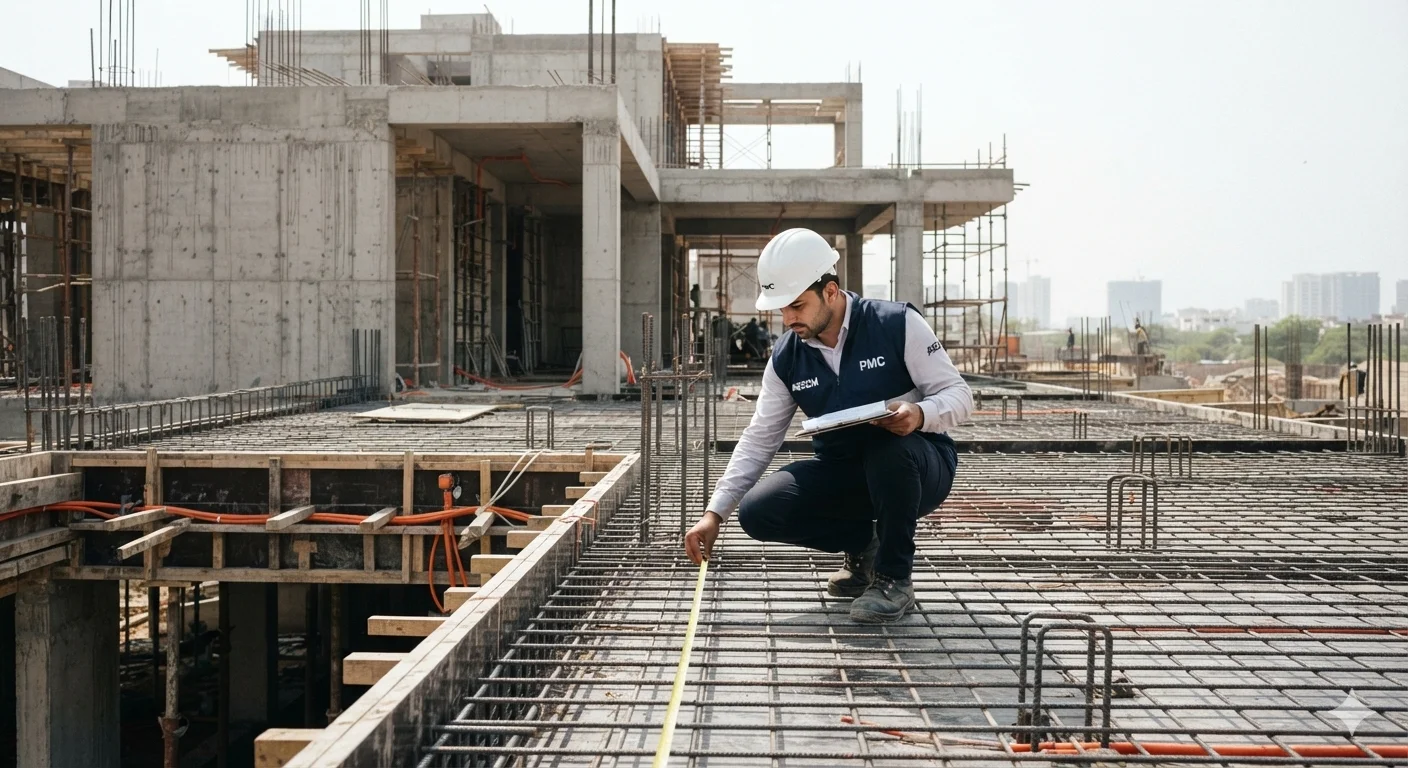
Our site engineer asked for twenty minutes before the pour. He walked the formwork, checked the spacing between the reinforcement bars against the structural drawing, and found two sections where the spacing had drifted wider than specified, probably from workers walking across the mesh while placing it. Twenty minutes, a few corrections, and the pour went ahead as planned.
Here’s the thing about that twenty minutes: it was the only point in the entire slab’s life where the mistake could be fixed for free. Once concrete sets, a reinforcement error isn’t a conversation anymore, it’s a structural compromise, or a very expensive, very disruptive repair. That’s what this checklist is really about. Not paperwork for its own sake, but the fact that construction has exact moments where a problem is cheap to fix, and the moment after, where it isn’t.
Why “Stage-Wise” Is the Only Way This Actually Works
A lot of construction quality checklist content treats quality control as one big inspection at the end, walk the finished house, note the defects, send a snag list. That approach catches cosmetic problems. It cannot catch the things that are now buried under plaster, flooring, or a poured slab.
A genuine site inspection checklist has to happen in layers, at each stage, before the next one covers it up. This is the actual logic behind how a PMC structures quality control, and it’s also why this guide is organised the way it is: stage by stage, with the specific checks that matter at each one, not a single list applied once at handover.
The Stage-Wise Checklist
Stage 1: Excavation and Foundation
This is where the house quite literally stands or doesn’t. Get this wrong and everything built on top inherits the problem.
- Excavation depth matches the soil investigation report and structural drawing
- Soil bearing capacity at the excavated level is verified, not assumed from the original report alone
- Foundation levels checked against the benchmark before any concrete goes in
- Reinforcement in footings matches the structural drawing for size, spacing, and cover
- No standing water in the excavation pit before concreting begins
We once found a footing excavation that had quietly gone eight inches off the structural grid, likely a measurement error early in the layout. Caught here, it’s a half-day correction. Caught after the columns are up, it’s a redesign conversation nobody wants to have.
Stage 2: Plinth and Damp Proof Course
The plinth level is where moisture either gets permanently locked out of the structure, or permanently invited in.
- Plinth level matches the approved drawing and sits correctly above ground level
- Damp proof course material and thickness match specification
- DPC is continuous with no gaps at joints or corners
- Backfilling around the plinth is compacted properly, not just dumped and left
Stage 3: Columns and Reinforcement Before Casting
Every column pour is a one-way door. This is the stage where “we’ll fix it later” simply isn’t an option anymore.
- Reinforcement bar diameter and grade match the structural drawing
- Spacing between bars is verified at multiple points, not just visually at a glance
- Concrete cover to reinforcement meets the specified minimum
- Shuttering is plumb, properly braced, and free of gaps that could cause honeycombing
- Lap lengths at bar joints meet structural requirements
Stage 4: Slab Casting Checks
If there’s one stage where rushing costs the most, it’s this one. Slab casting checks deserve their own dedicated attention, not a quick glance between a contractor’s other tasks.
- Reinforcement mesh spacing and overlap confirmed against drawing, immediately before pour
- Electrical conduits and plumbing sleeves are positioned correctly and secured, so they don’t shift during the pour
- Concrete grade matches the specified mix, verified through a slump test on-site
- Adequate vibration during pouring to eliminate air pockets and honeycombing
- Curing begins promptly after casting and continues for the full recommended duration, not just a token few days
That twenty-minute reinforcement check from the opening story happened at exactly this stage. It’s the single most consequential structural check in the entire build, precisely because it’s the hardest and most expensive mistake to undo afterward.
Stage 5: Brickwork and Blockwork
Less dramatic than a slab pour, but sloppy brickwork here causes plastering and finishing headaches for weeks.
- Wall alignment checked with a plumb line, not eyeballed
- Mortar joints are consistent in thickness throughout
- Bricks or blocks are properly soaked before laying, as specified
- Openings for doors and windows match the architectural drawing dimensions exactly
Stage 6: Electrical and Plumbing Rough-In, Before Anything Closes It Off
This is the checkpoint that saves the most arguments later, because once false ceilings and wall finishes go up, every point here becomes invisible and expensive to change.
- Electrical points match the approved layout, room by room
- Wire gauge matches the load requirement for each circuit
- Plumbing lines are pressure-tested before being concealed
- Conduit routing avoids structural members and follows the approved drawing
- A clear, dated record exists of exactly what’s routed where, before it disappears behind a wall or ceiling
We treat this stage almost like a photographic archive. Every concealed point gets documented before it’s covered, because six months later, nobody remembers exactly where that extra switch point was supposed to go, and a wall doesn’t give up its secrets without being broken open.
Stage 7: Plastering and Waterproofing
Water finds every shortcut taken here, eventually, and usually in the most inconvenient way possible.
- Plaster thickness is consistent and within specification
- Surface is checked for hollowness by sound-tapping, not just visual inspection
- Waterproofing membrane applied to bathrooms, balconies, and terraces before tiling begins
- Waterproofing is tested with a flood test before the area is considered sealed
- Expansion joints are treated correctly, not simply plastered over
Stage 8: Flooring
- Sub-base level and slope (toward drains, in wet areas) verified before laying
- Tile or stone batch numbers match across a room to avoid visible shade variation
- Grout lines are consistent in width throughout
- Hollowness check after laying, since a hollow tile today is a cracked tile within a year
Stage 9: Finishing and Snagging
The stage most homeowners assume is the only stage that matters, because it’s the one they can actually see.
- Paint finish is even, with no visible brush marks or patchiness
- Doors and windows open, close, and lock smoothly without sticking
- All switches, sockets, and fixtures are tested for function, not just presence
- A detailed, written snag list is created and tracked to closure, not just verbally noted
Stage 10: Pre-Handover Verification
- Every item from the snag list is confirmed resolved, not just marked resolved
- Structural and finishing warranties are documented and handed over in writing
- As-built drawings, including the concealed electrical and plumbing routing from Stage 6, are provided for future reference
- A final walkthrough happens with the homeowner present, not just the contractor’s internal sign-off
Why Homeowners Skip This, and What It Quietly Costs Them
Nobody skips quality checks on purpose. It usually happens because the homeowner isn’t on-site daily, the contractor is managing their own pace and doesn’t flag every stage for review, and there’s no one whose specific job is to stop and check before the next stage covers up the last one.
The cost of that gap rarely shows up immediately. It shows up eighteen months later as a hairline crack following a reinforcement line, a damp patch on a ceiling below a bathroom, or a switch point that was never actually wired to the right circuit. None of these are discovered until they’re expensive, disruptive problems instead of twenty-minute corrections.
How a PMC Actually Runs These Checks
This is where construction project management earns its place in a project, not as a layer of paperwork, but as the specific discipline of being present at the stage where a problem is still cheap to fix. A proper site inspection checklist isn’t ticked off from memory. Each stage gets a dated, photographed record, checked against the structural and design drawings, with sign-off required before the contractor proceeds to the next stage, not after.
This sequencing discipline is really the whole point. A checklist run after the fact can only document damage. A checklist run at each stage, before it’s sealed, covered, or poured over, is the only version that actually prevents the damage from happening in the first place.
Studio Interplay’s Role as a Consultancy in Gurgaon
Studio Interplay runs exactly this kind of stage-wise quality process as part of its project management consultancy in Gurgaon, with engineers present at the specific checkpoints where a correction is still possible, rather than a single inspection scheduled once near handover. For villa and independent house construction especially, where every stage builds directly on the one before it, this is less a service add-on than it is the actual mechanism that keeps a project’s quality intact from foundation to final handover.
If you’re planning a build and want quality checks built into the construction schedule itself, not bolted on afterward, it’s worth having that conversation before the first shovel goes into the ground.
FAQs
- What is the most important stage for quality checks during house construction?
Slab casting and column reinforcement checks are the most critical, since errors at these stages become permanent and extremely costly to correct once concrete is poured. - What should be checked before a slab is cast?
Reinforcement spacing and overlap, correct placement of electrical conduits and plumbing sleeves, concrete mix grade, and adequate vibration during pouring are the essential slab casting checks. - Why do electrical and plumbing checks need to happen before walls are closed?
Once walls and ceilings are finished, concealed electrical and plumbing points become invisible and expensive to access, so verifying routing and quality before closing is the only reliable checkpoint. - How is a PMC’s site inspection checklist different from a contractor’s own quality check?
A PMC’s checklist is run independently of the party doing the construction, documented and dated at each stage, and requires sign-off before the next stage proceeds, rather than relying on the contractor self-certifying their own work. - What happens if quality issues are only caught at final handover?
Many structural or concealed issues, like reinforcement errors or faulty waterproofing, simply can’t be fixed without breaking open finished work, which is why stage-wise checks matter more than a single end-of-project inspection. - Does construction project management cost more than just hiring a contractor?
It adds a fee, but it typically prevents costlier problems like rework, structural corrections, or concealed defects discovered after handover, which often outweigh the consultancy cost on complex builds. - Can homeowners request copies of stage-wise inspection records?
Yes, and it’s worth asking for this explicitly. Dated, photographed records at each stage should be part of your project documentation and handed over at completion. - Does Studio Interplay offer construction quality checks as part of its PMC services in Gurgaon?
Yes, Studio Interplay runs a stage-wise quality verification process as part of its project management consultancy in Gurgaon, with checks built into the construction schedule rather than added at the end.

Co-Founder & Principal Designer at Studio Interplay
Palak approaches design as a dialogue between space and emotion. With a deep appreciation for materiality and detail, she creates interiors that reflect the people who inhabit them rather than the trends of the moment.